

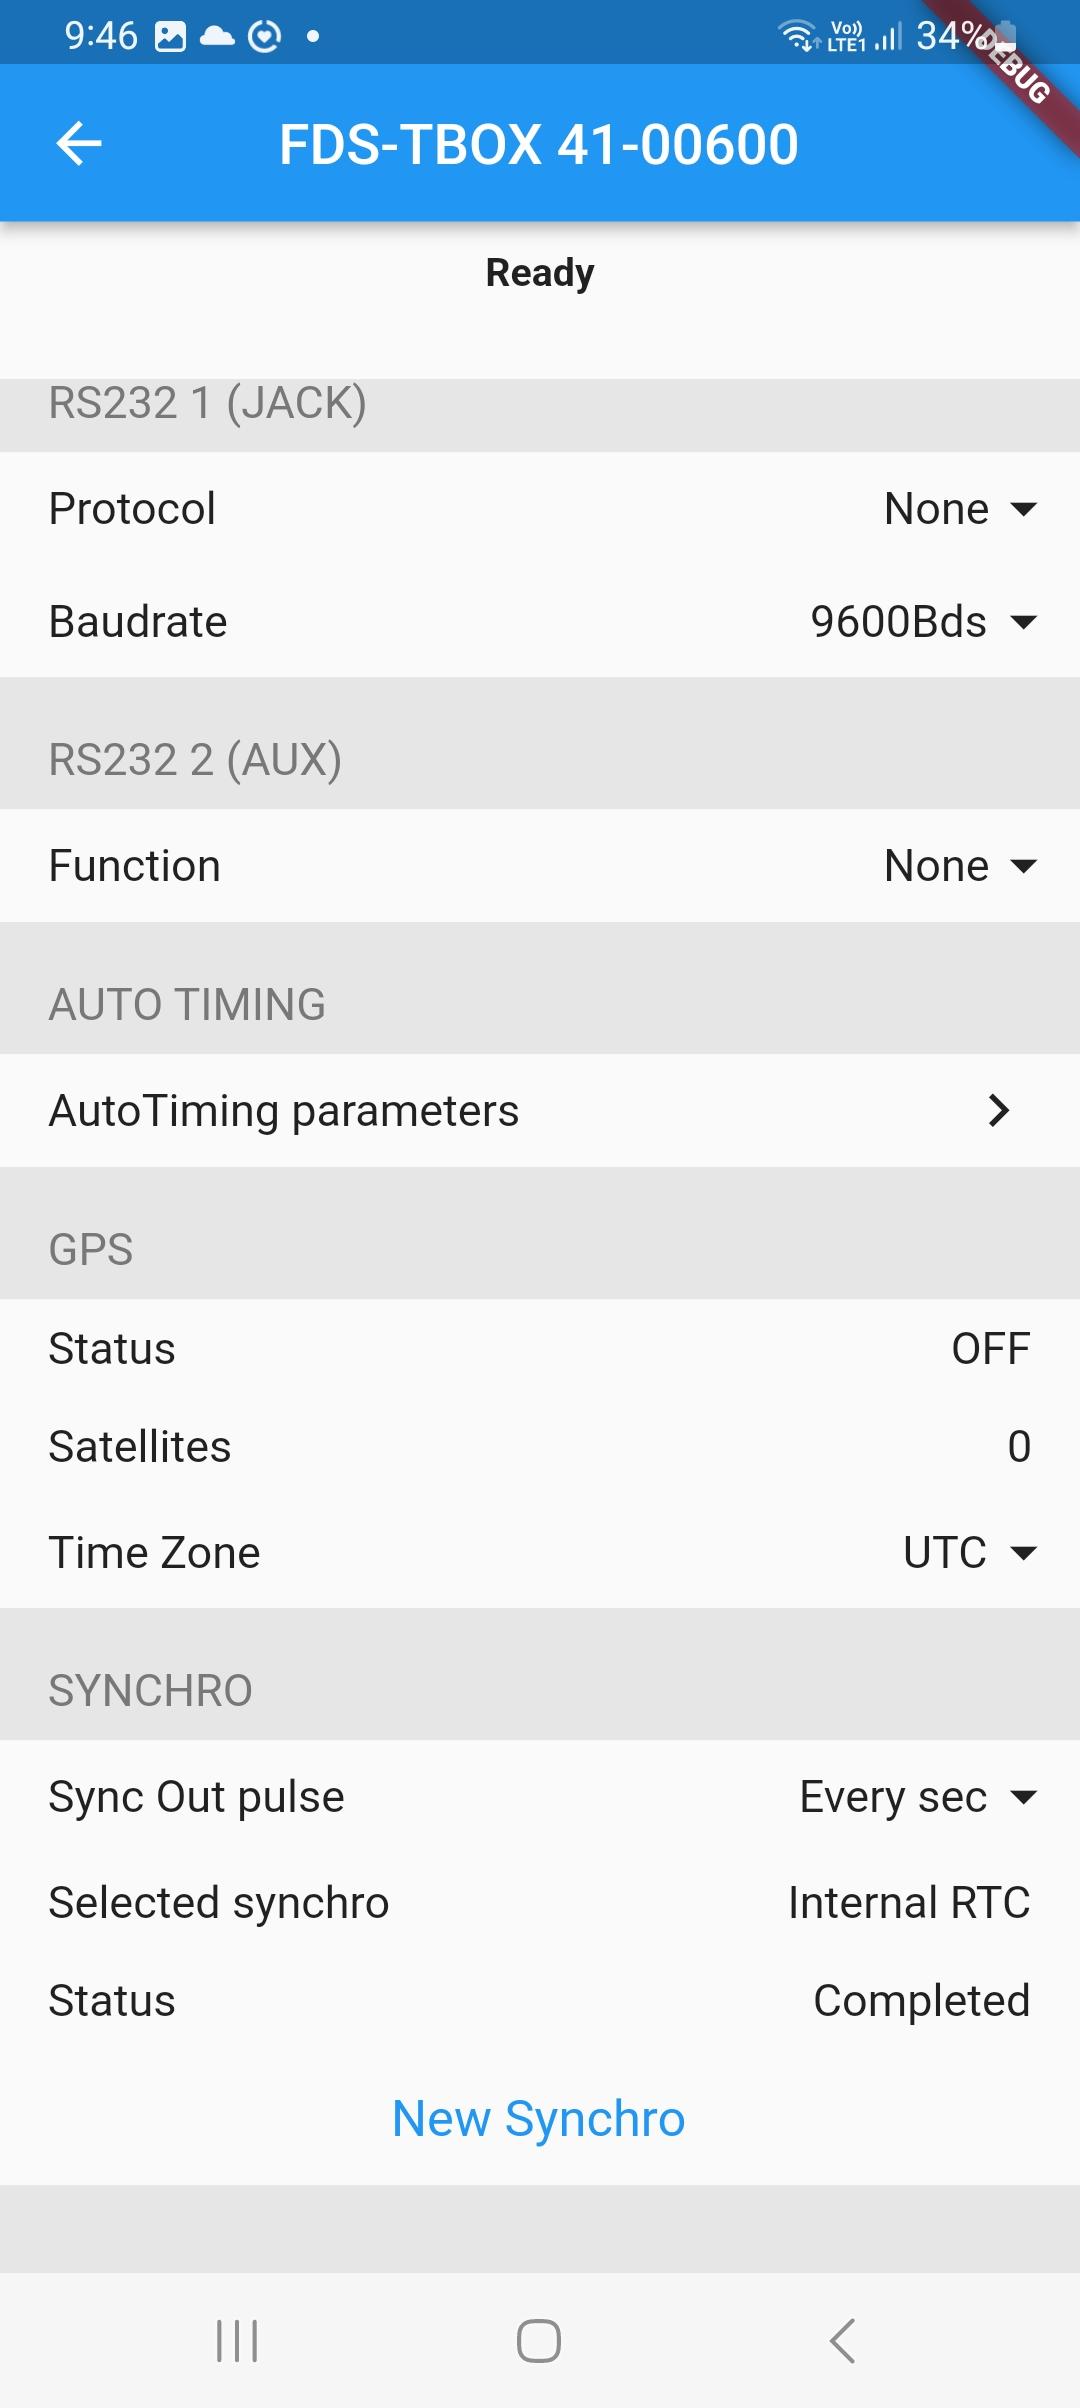
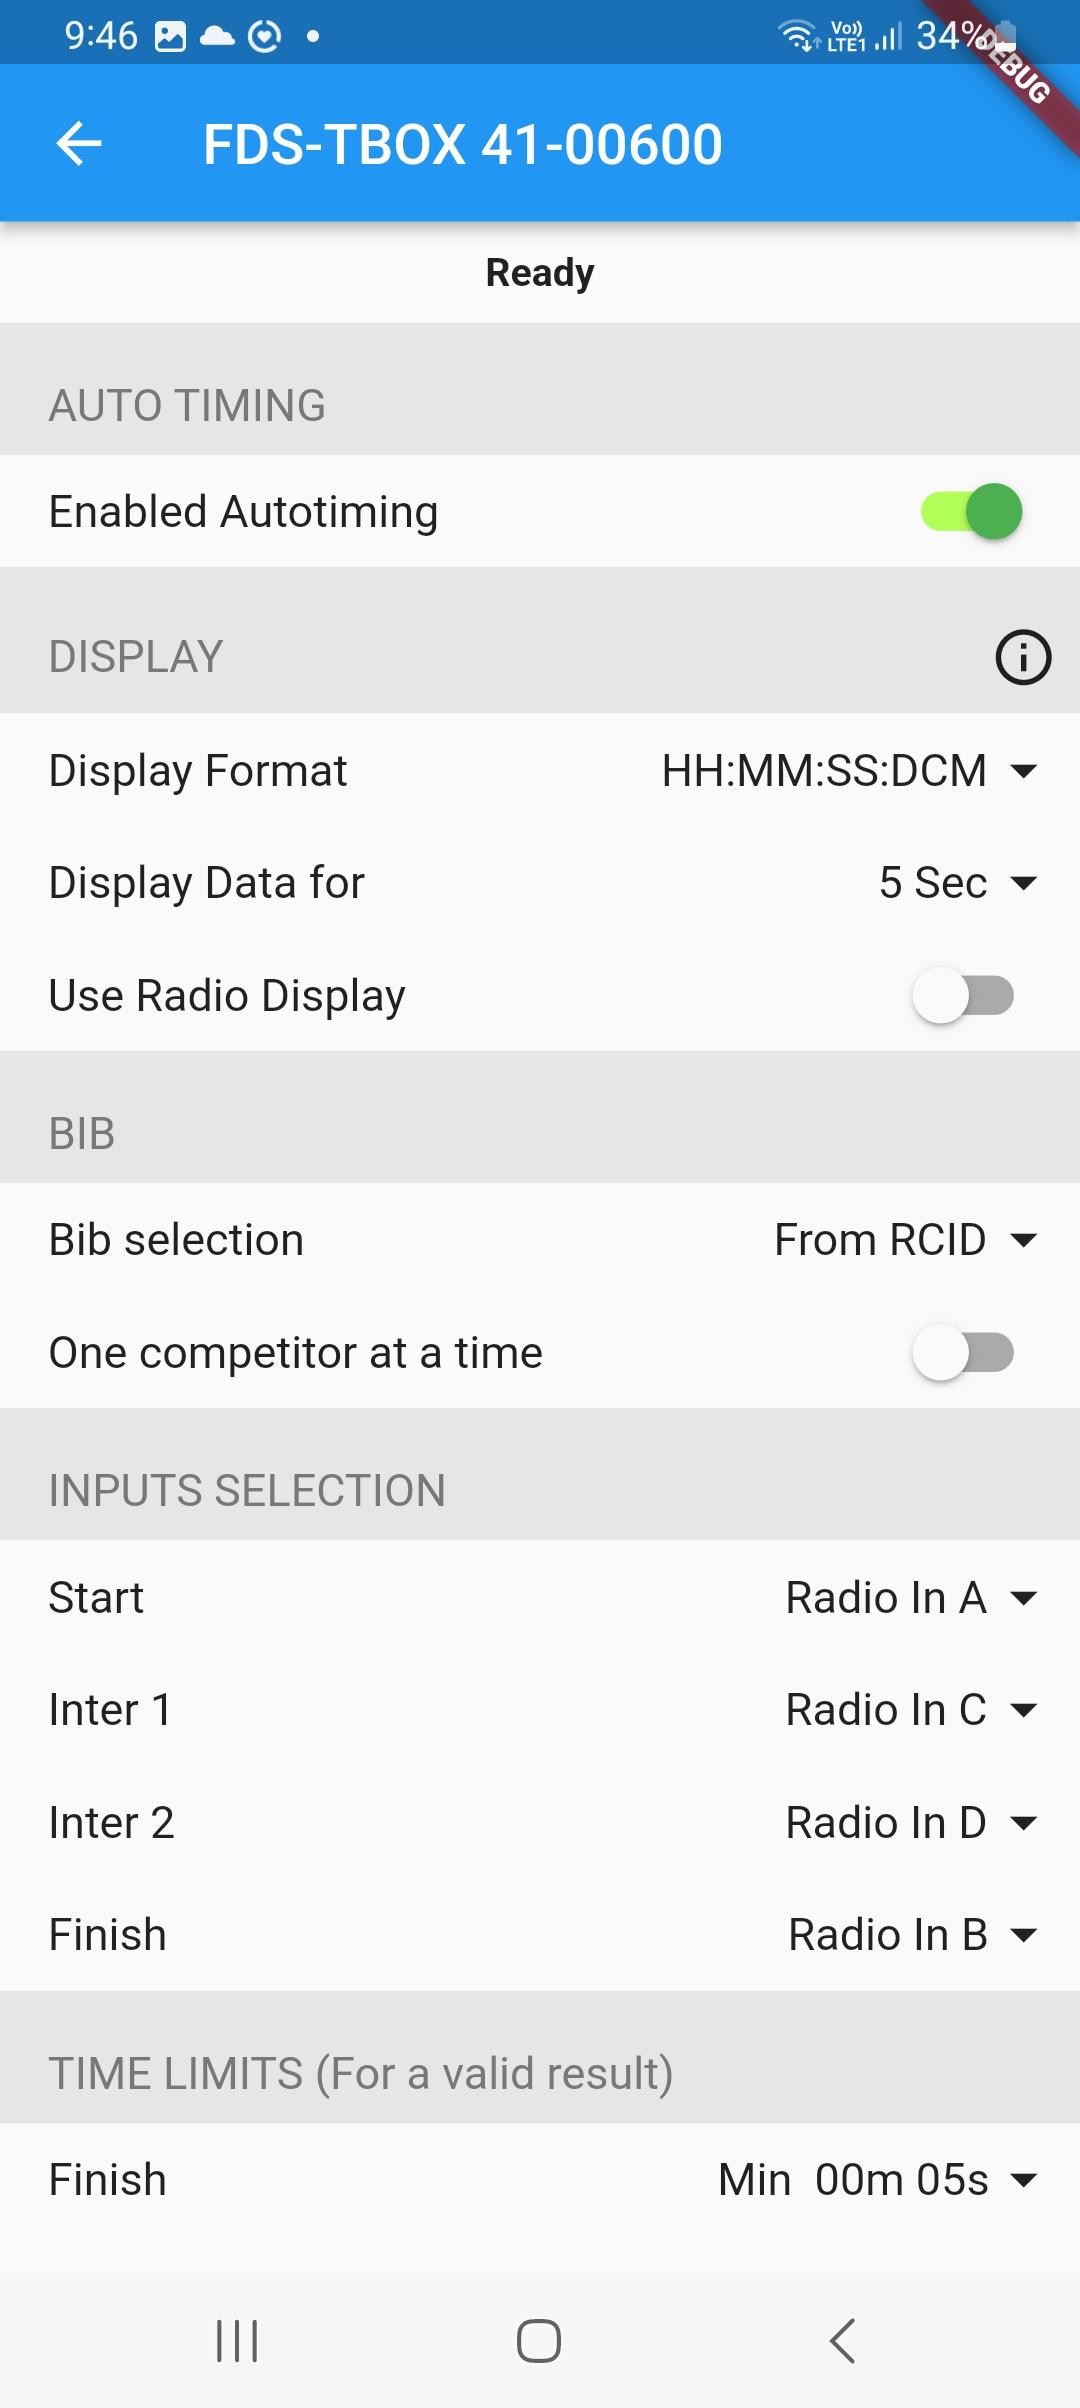


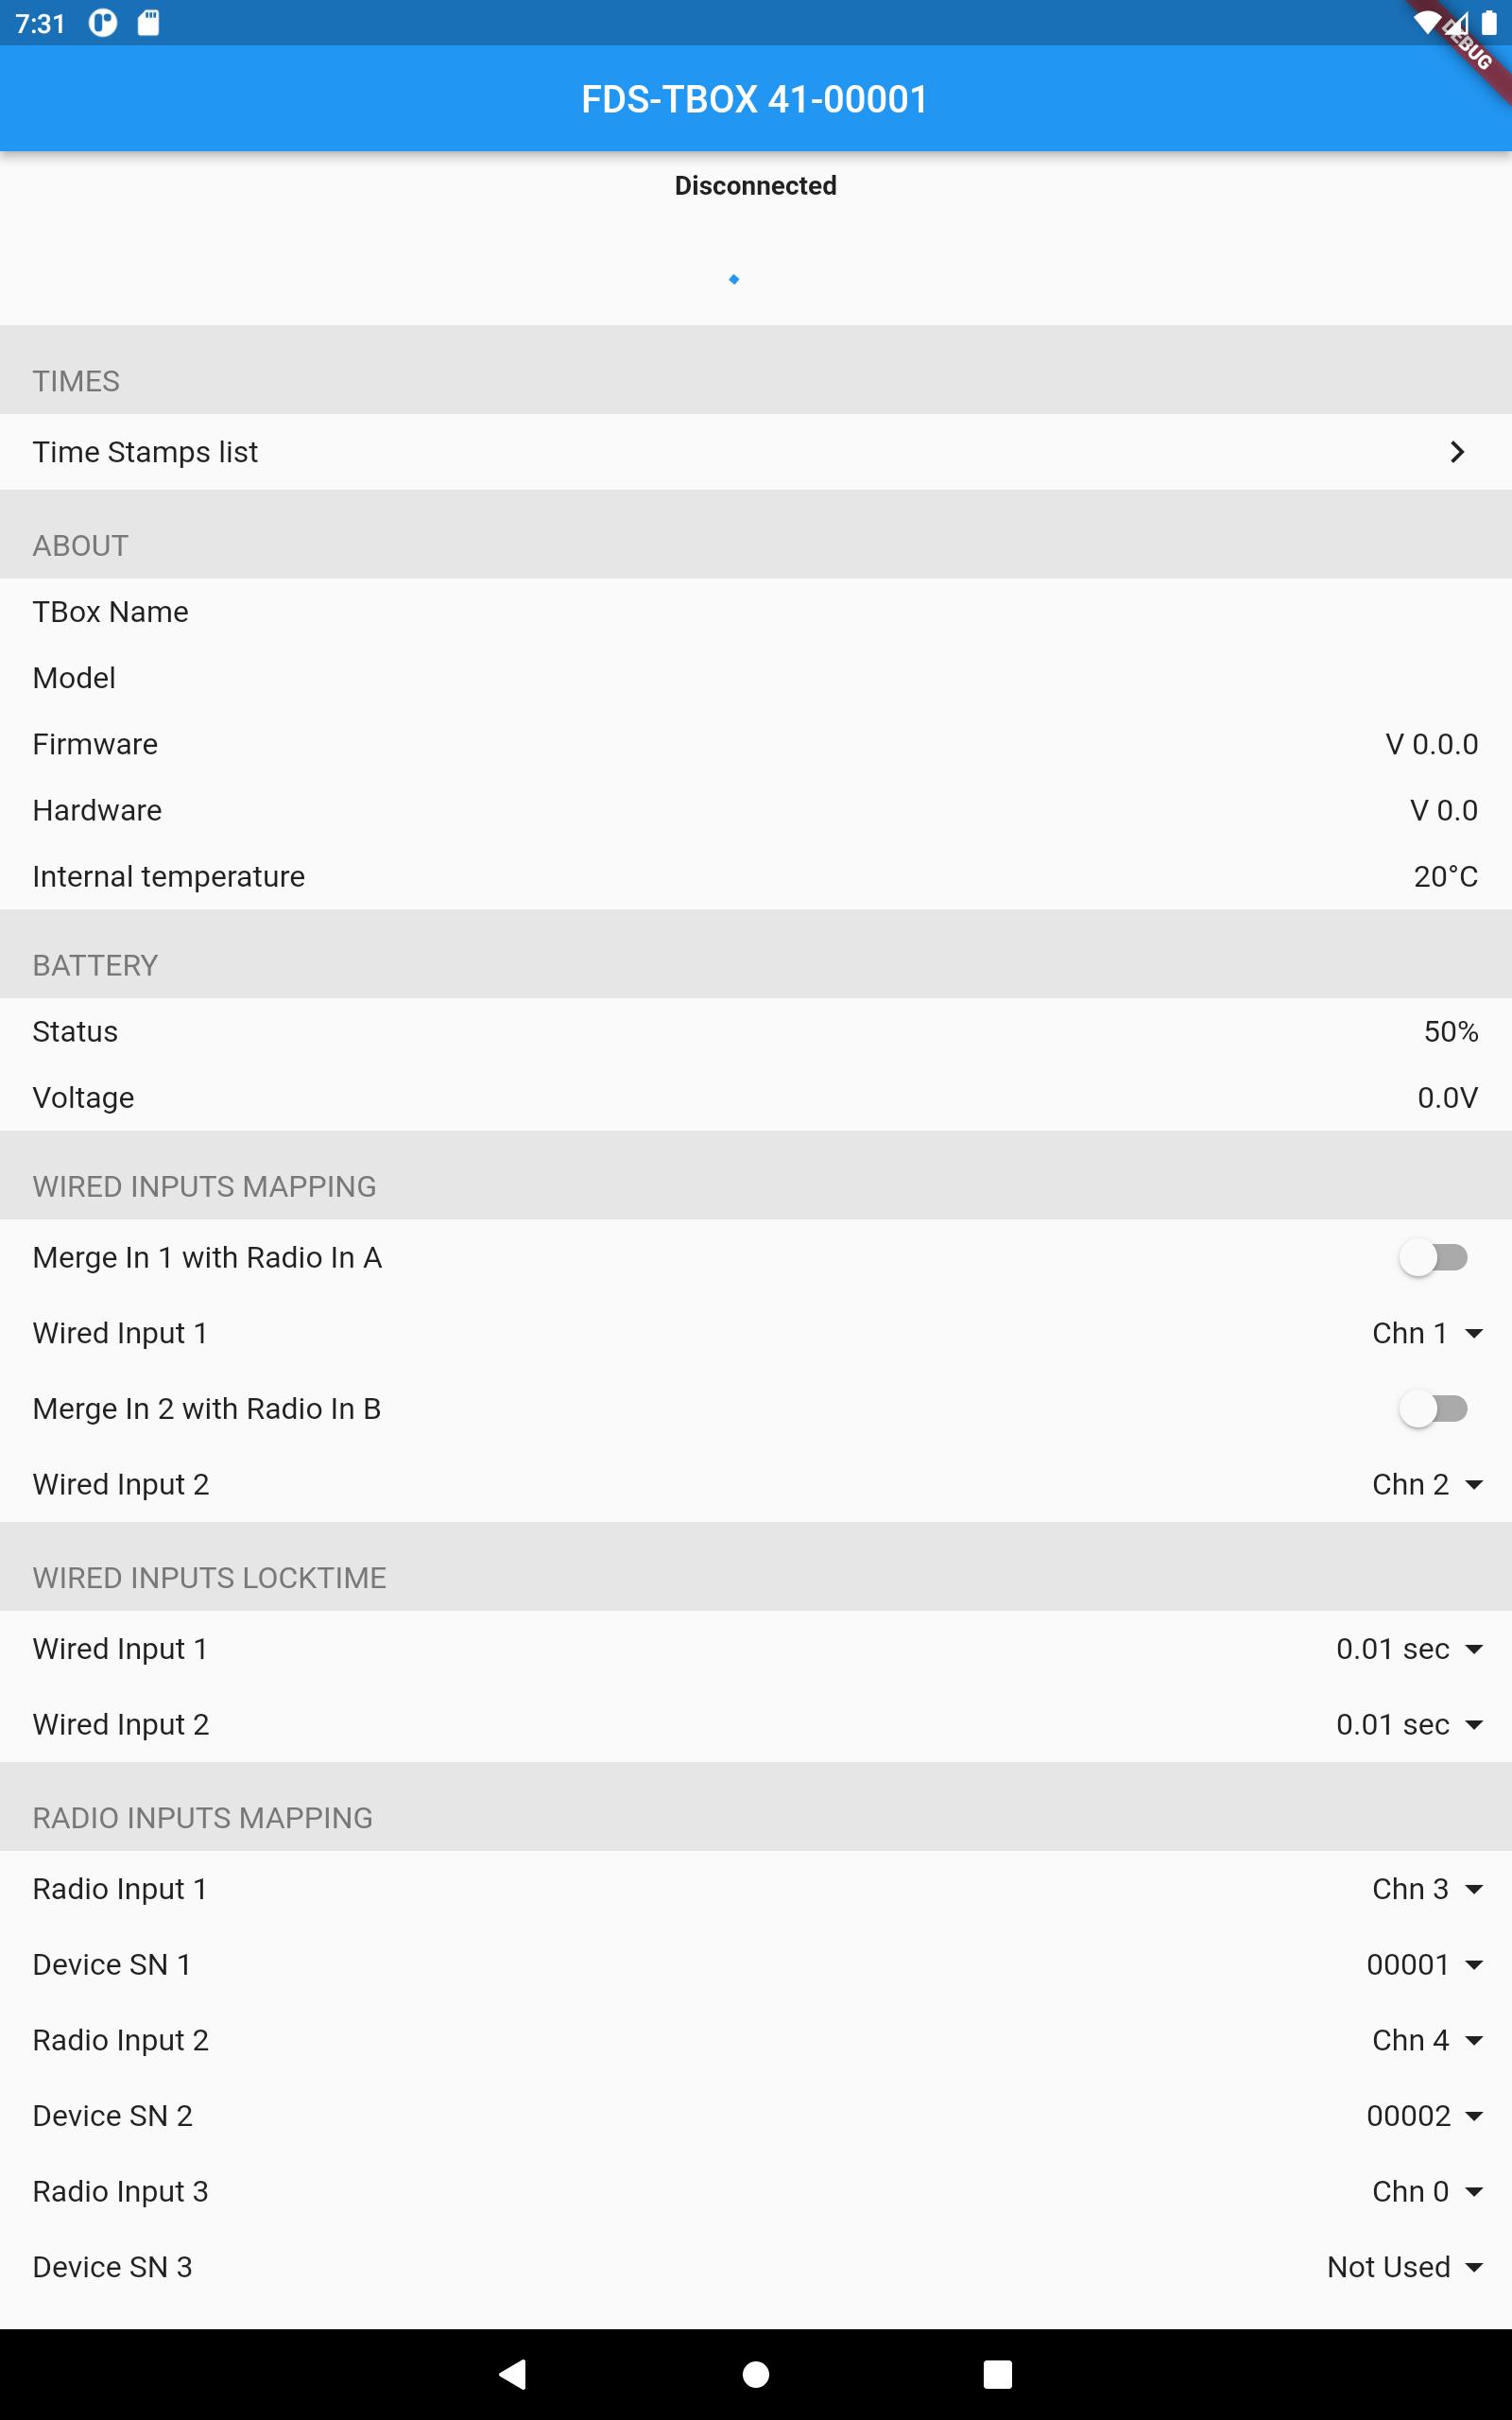
Configure all your FDS-TBox models.
TBox-Setup is a tool to quickly configure and test via Bluetooth all TBox models manufactured by FDS-Timing.
Compatible devices :
- FDS-TBox standard (Models 10, 11, 20, 21)
- FDS-TBox Radio (Models 30, 40, 41)
What's New in the Latest Version 1.2.0
Last updated on Jul 1, 2024
Few bug fix
FDS TBox Setup: A Comprehensive GuideIntroduction
The Famicom Disk System (FDS) TBox is an external floppy disk drive that allows the Nintendo Famicom console to play games stored on floppy disks. It was released in 1986 and was a significant advancement in gaming technology at the time. This guide provides a comprehensive overview of the FDS TBox setup process, ensuring a seamless and enjoyable gaming experience.
Prerequisites
Before proceeding with the setup, ensure that the following prerequisites are met:
- Nintendo Famicom console
- FDS TBox drive
- FDS diskette
- Phillips head screwdriver
- AC adapter (optional)
Hardware Setup
1. Connect the TBox to the Famicom: Locate the expansion port on the front of the Famicom console. Carefully align the TBox connector with the port and insert it firmly. Secure the connection using the screws provided.
2. Insert the FDS diskette: Open the TBox drive by pressing the eject button. Insert the FDS diskette into the drive and gently close it.
3. Connect the AC adapter (optional): If desired, connect the included AC adapter to the TBox to provide stable power. This step is optional but recommended for optimal performance.
Software Setup
1. Power on the Famicom: Turn on the Famicom console. The FDS TBox should automatically start loading the diskette.
2. Select the game: Once the diskette is loaded, a menu will appear on the screen. Use the Famicom controller to navigate the menu and select the desired game.
3. Start the game: Press the A button to start the selected game. The game will load from the diskette and begin playing.
Troubleshooting
Diskette not loading:
- Ensure the diskette is inserted correctly.
- Clean the diskette surface with a soft cloth.
- Try a different FDS diskette.
No sound or graphics:
- Check the connection between the TBox and the Famicom console.
- Ensure the FDS diskette is fully inserted.
- Clean the cartridge connector on the FDS diskette.
Gameplay issues:
- Some FDS games may require additional peripherals, such as a microphone or a RAM adapter. Refer to the game manual for specific requirements.
- If the game freezes or crashes, try restarting the console and the game.
Additional Tips
- Handle the FDS diskettes with care to avoid damage.
- Store the diskettes in a cool, dry place to prevent data loss.
- The FDS TBox can also be used to store and transfer data between different Famicom consoles.
- Some FDS games feature enhanced graphics and sound capabilities that are not available on cartridge-based games.